September has gone and passed like a whirlwind. It’s October now, and before we know it, it’ll already be Christmas! But, with October 31 fast approaching, most would’ve scrambled to find trick-or-treat costumes. But it would help if you did some Halloween decorating first. Get your creative mind to look for some household objects to turn into the spooky decoration! Not only will you have fun, but you can help the young ones limit their screen time. So, look at these 12 fun and easy Halloween decoration ideas you can craft with your kids.
Related Reading:
- 20 Hilarious and Harmless April Fools’ Day Pranks for your husband or boyfriend (2022)
- Practical jokes for Your Girlfriend/Wife on April Fools’ Day
- Fun Things To Do On Easter Sunday With Kids [2022]
- Mother’s Day Gift Idea For Wife Will Love & Warm (Simple Love)
- 12 Budgeted Mother’s Day Gift Ideas Under $10
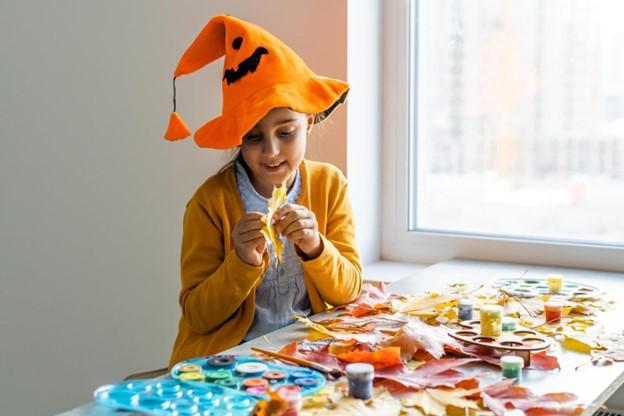
Table of Contents
1. DIY Ghost Garlands
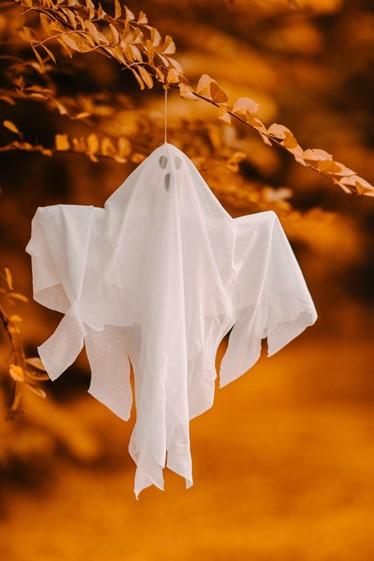
Halloween won’t be complete without ghosts flying around. Hence, if you want some ghosts around your house, create your very own DIY ghost garlands.
You can always use plain old white paper to create a paper ghost chain quickly. White yarn and tassel are also good alternatives. But, for a more realistic ghost feel, cover plastic golf balls with cheesecloth or new gauze. While mom or dad prepares the ghost’s head, the kids can help by cutting out little circles, ovals, and triangles.
Older kids can even help double-knotting cutout twine and weaving them through plastic golf balls. Then, join the ghost heads with their bodies by parting a weave on the cheesecloth. Insert the twine through them, making sure to glue the top of the golf ball with white glue or hot glue.
But kids, let mommy do the hot gluing, or you’ll get burnt fingers instead.
2. Halloween Hand Soap
Kids love to explore with their hands. Even if they mess up their chubby little fingers, they won’t mind as long as they satisfy their curiosity. But, if your little ones won’t wash with plain old soap, spice up your hand soap containers for Halloween.
Kara Creates a unique take on halloweenizing one’s hand soap. You only need a mason jar, soap pump insert, ping pong balls, and hand soap. If a mason isn’t accessible, an empty sandwich spread or soap container will do. Remove the labels to make the bottles more aesthetic-looking.
Then, with the ping pong balls, let the kids go wild and turn them into the spookiest eyeballs. Just make sure the markers they’re using are permanent ones so the colors won’t be washed off. Then, place the ping pong balls and pour the hand soap in! For a sinister green effect, insert glow-in-the-dark Halloween spiders and skeleton parts.
Now, you can hand them out to your closest friends as Halloween giveaways.

3. Glitter and Ghost Balloons
Another spooky (yet cute) Halloween decor your family can do are DIY ghost balloons.
Design Improvised has an effortless take on this fun Halloween decor. First, inflate the balloons, preferably white. Let mommy or daddy do the inflating, or get your older siblings to help you. Much better if you have a balloon pump, as kids older than four would be happy to do the pumping for you.
Then, attach three pieces of cutout white crepe paper to the balloon. Once the ghost’s ready, grab your Sharpie markers and draw the eyes and mouths!
Now, for a fun twist, you can create Halloween-themed glitter balloons instead. Inflate the balloons and coat them with a mod podge with a foam paintbrush. Sprinkle the glitter over the gluey surface. Add the googly eyes and other Halloween decor, and you’re done. Once you have the design, put the balloons upright in big mixing bowls to let them dry. Hang them up, and you’re all set up for Halloween/

4. DIY Mummy Pillow
Halloween-themed pillows are expensive if you buy them from the store or online. But, if your kids love working with fabrics, make a mummy pillow instead. The best part is no sewing is required to do this project!
Trace and cut out circles on the eyes’ black and white felt paper. Then, let the younger kids glue those circles to the pillow insert with the fabric glue.
You can ask the older siblings to tear the white fabric into strips along the crosswise thread. The fabric strips don’t have to be of the same size. Just make sure the white fabric you’ll use looks and feels like a bandage.
Then, wrap the entire pillow with the fabric strips, leaving an opening for the eyes. Once the mummy’s body is ready, glue the eyes with fabric.

5. Bloody Candles
For those who have tweens and teens in their homes, the cutesy Halloween decor might not be as appealing to them. But, if the gory stuff isn’t your fad, make a compromise and settle on making blood candles.
She Knows some great tips for creating realistic blood on your Halloween candles. First, melt the red candle with the lighter until liquid wax forms. Collect the liquid wax with an eyedropper and dribble it on the pillar candle. Start around the wick in straight lines 2-3 times until you get good coverage.
For a darker shade of red,” place the fire along the wax nearest the glass wall until it melts. Allow the soot to mix with the red candle wax to make it darker.
If the wax drips get lumpy, melt them with the lighter. This will make more wax drips as you even out the top part. Continue dripping more red wax until you have the effect that you want. Then place the bloody candle in a glass container and light them up for your Halloween dinner.
6. Bat Decorations
Another iconic figure that shouldn’t be missing from any Halloween decor is the bat. But you don’t have to invite Count Dracula into your home to have bats flying around.
If you have kids under 7, go with the simple paper bat decorations first. Just get black construction paper, trace out a bat outline, and cut it out with scissors. Then let mommy or daddy attach a cord to hang it from your ceiling.
To make your bat look more 3D-like, Kate of Good in the Simple has a clever idea of bending your used wire hangers. Slip the black tights you cut into half on each side for the bat’s wings. To make it cuter, glue googly eyes. Then, poke through the black tights with a stretchy jewelry cord and hang them from the ceiling. You can even hang the bats on tree branches to add a Halloween vibe to your home.
Sostrene Grene also has a terrific way of upcycling paper towel tubes into bats. Paint the lines with black paint, and attach the wing, fangs, and eye cutouts to the body with glue.


7. DIY Halloween Spiders
Whether you like them or not, spiders are stapling Halloween decorations. But you don’t need to catch real-life spiders to make your house spooky.
If you have toddlers in the house, use pompoms to make this Halloween character. Best Ideas for Kids suggests cutting pipe cleaners into eight pieces for the spider’s legs. Then, bend one end of the pipe cleaner and string the beads onto the legs. Glue the legs to the spider’s body. If you need to use hot glue for a sturdier attachment, ask mom or dad to do it for you. Then, put googly eyes (as many as you like). Once everything’s set, allow the glue to dry.
3D spider garlands are also great for decorating walls. You can download a template from White House Crafts and cut the circle patterns using scissors. Fold all the circles in half and stick the double-sided tape to the left side of the spider. Repeat these steps until you form the body.
Then, attach the legs on the last half circle you added, 4 on each side. Make 2 holes on the top part of each spider, and pass a string through it. Use different colors of paper if you want a colorful garland. But sticking to the usual black is great as well.
8. Paper Plate Spider Web
Another great Halloween decor idea to boost your kids’ fine motor skills is a paper plate spider web. For this project, you’ll need paper plates, yarn, black paint, and a hole puncher.
First, cut out the paper plate’s center part. Then, paint it black. Once dry, punch out holes around the paper plate’s center. Now’s the fun part: threading the yarn (the orange color is best!) through the holes. Tape the end parts of the yarn to the back of the paper plate, and you’re done.
If you want to add spiders, make one out of black pom poms. Cut out small paper strips and attach them to the pompom using glue. You don’t have to connect all eight legs if they don’t fit; at least six will do. Lastly, add googly eyes to the pom pom.

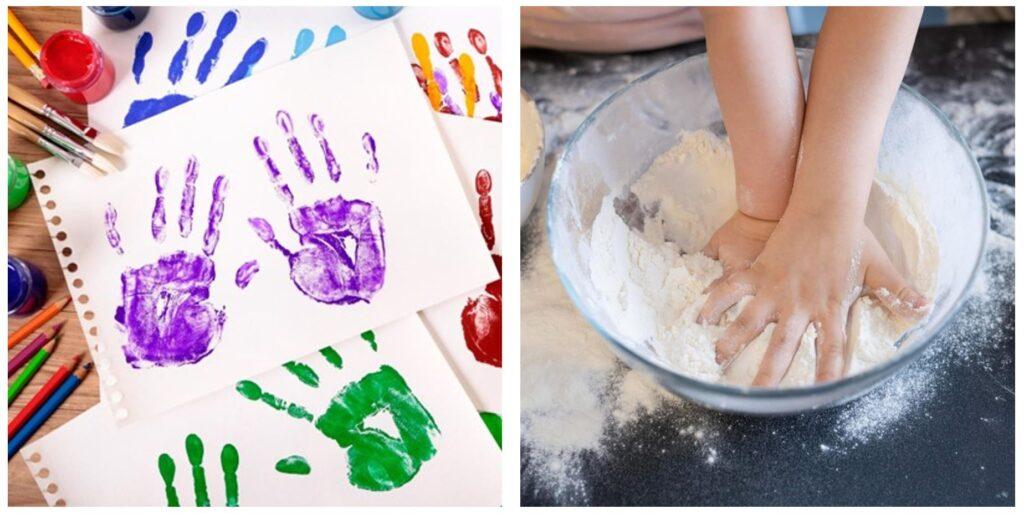
9. Handprint Halloween Ornaments
Kids (and adults, too) love making handprint ornaments as they have a personal touch. But, handprint decorations aren’t only for Christmas. You can also make Halloween-themed handprint ornaments.
If you love the DIY route, making the ornaments out of salt dough would be great. Mix flour, water, and cooking salt until the dough achieves a play dough-like consistency. Add more flour if you find the consistency’s still sticky.
Then, flatten the dough before asking the kids to press their hands onto it for the handprints. Cut the surrounding area into pumpkin shapes. Don’t forget to poke wide holes in the stem part of the pumpkin.
Bake the ornaments you made in a preheated oven for at least 3 hours using low temperature. Once they’re baked, allow the ornaments to cool first before painting them with acrylic paint. Allow the paint to dry first before threading the strings into the holes.
If you want to skip the baking part though, Non-Toy Gifts suggests you use air dry clay. After asking your kids to press their hands onto the clay. Then, poke holes to attach the strings into, and paint them.
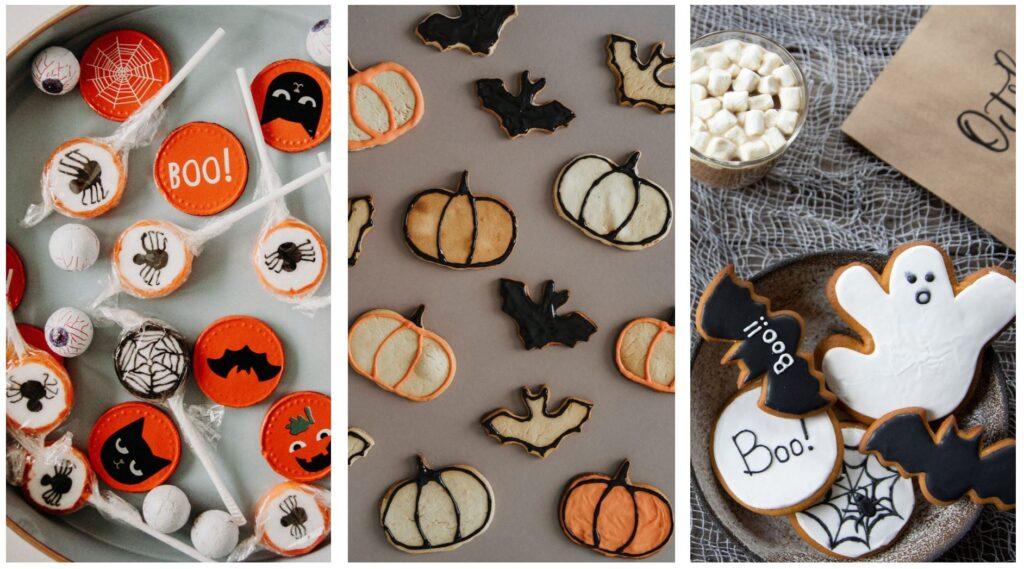
10. Halloween Handprint Art
Whatever Halloween character you want to create, handprint arts are the most versatile.
First, you have to cover your kids’ palms with paint. Make them press their hands on the paper any way they want. They can even combine handprints with brush strokes, and they can add dots and lines wherever they want. Once their Halloween characters are in shape, add googly eyes and draw their mouths using markers.
All you have to do then is post your kids’ artwork on the wall for that added “Boo!” factor. You can look at A Little Pinch of Perfect and The Best Ideas for Kids to have more Halloween handprint art ideas.
11. Halloween Wreaths
Wreaths, like handprint ornaments, aren’t just a Christmas thing. You can also make Halloween-themed wreaths that can add a spooky vibe to your door.
One type of Halloween wreath you can make is the monster wreath. The first thing you need to do is wrap the feather boas around the foam wreath. Use the floral pins to hold the feather boas in place.
Curl the pipe cleaners with your finger or a pencil before attaching the googly eyes to them. Then, attach the eyes using the floral pins next.
Now, if fluffy monsters aren’t your thing, create an eyeball wreath instead. Glue the first layer of ping pong balls evenly on the foam wreath. Make sure to lay the foam wreath on a flat surface so you’re sure it’ll hang flat against the door.
Then, add more layers of ping pong balls from the first layer until you achieve the look you want. Attach the googly eyes to the ping pong balls next. You can opt to use the adhesive-type googly eyes, especially when working with kids. But if you want a more secure attachment, use hot glue instead.
Whichever type of wreath you make, loop a ribbon around the wreath so you can hang it on your door.

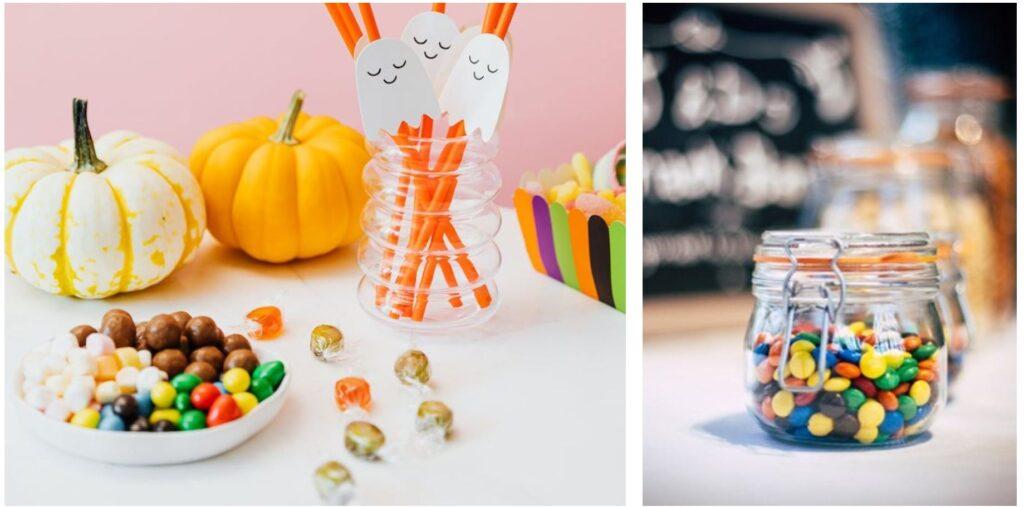
12. Candy Jar Monsters
Don’t forget to decorate your candy jars for Halloween as well. With a bit of imagination, paint, and paintbrush, you can create candy jar monsters in no time.
Any clear container will do if mason jars aren’t available. With acrylic paint and a paintbrush, paint the eyes of your monster. Start with two coats of white acrylic paint for the eyeballs. Then, paint the pupil and the mouth of the monster with black paint.
You can even add teeth if you want. After which, let your monster candy jars dry before pouring candy inside.
To End This Halloween Decor Blog…
As art has always been beneficial to kids, let them explore! Let the children have full creative reign on your Halloween decor project. But, always supervise them still as you never know when accidents happen.
No matter what Halloween project you have, turn this into an opportunity to spend time with the family. Remember, you don’t need the perfect Halloween decoration to make it fun.
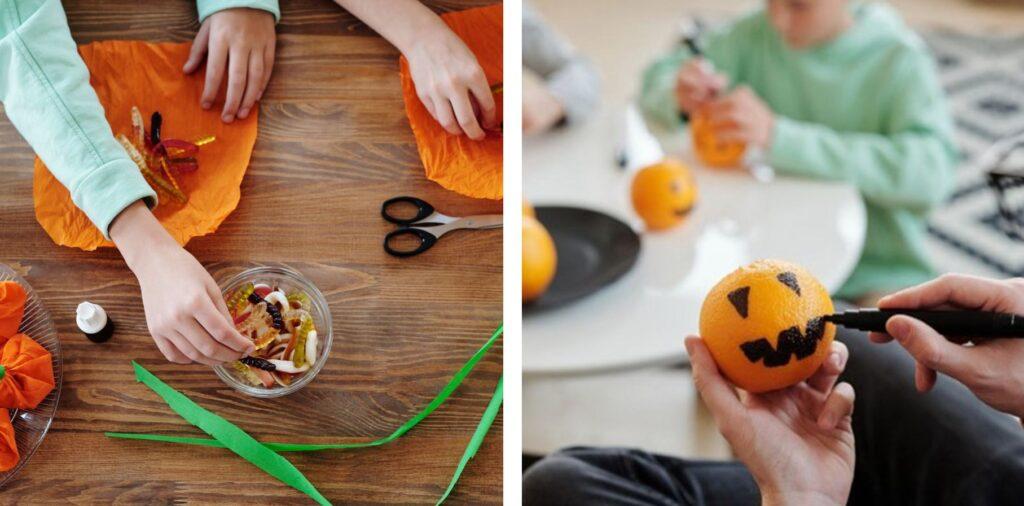
Even if your Halloween decor turns into a “disaster” moment, the fun memories will always stay in your kids’ hearts.
Hopefully, the fun and easy Halloween decoration ideas can jumpstart your creative minds for the season. Choose at least one or combine all of those decors to successfully celebrate this year’s Halloween season.
About Me
Hi, there. I am Lin. Together with my husband and two kids, we live in the beautiful Netherlands in Europe. I am dedicated to self-development, creating quality time for the whole family, and fully supporting kids with their potentials with all I have learned from engineering, MBA, and 10+ years of working experience in the energy sector.